
How to Detect Car Problems by Sound and Smell
February 16, 2016Important Terminology Every Car Owner Should Know
March 2, 2016The original head lamps for early cars worked just as their name suggests – real flames burned on oil or other fuels behind a glass shade. We may use curved plastic covers and all kinds of bulbs now, but the concept of lighting up the road remains the same. Installing extra bright xenon or LED fixtures will only help so much if you are experiencing a loss of illumination due to worn out lenses. These pieces of plastic or acetate are at the perfect height for taking scratches from bouncing chips of wood or bits of stone from a gravel truck. Don’t rush out to replace the lenses just because they’re looking frosted or downright opaque when there are multiple ways to polish and restore your existing materials.
Constant Abrasion
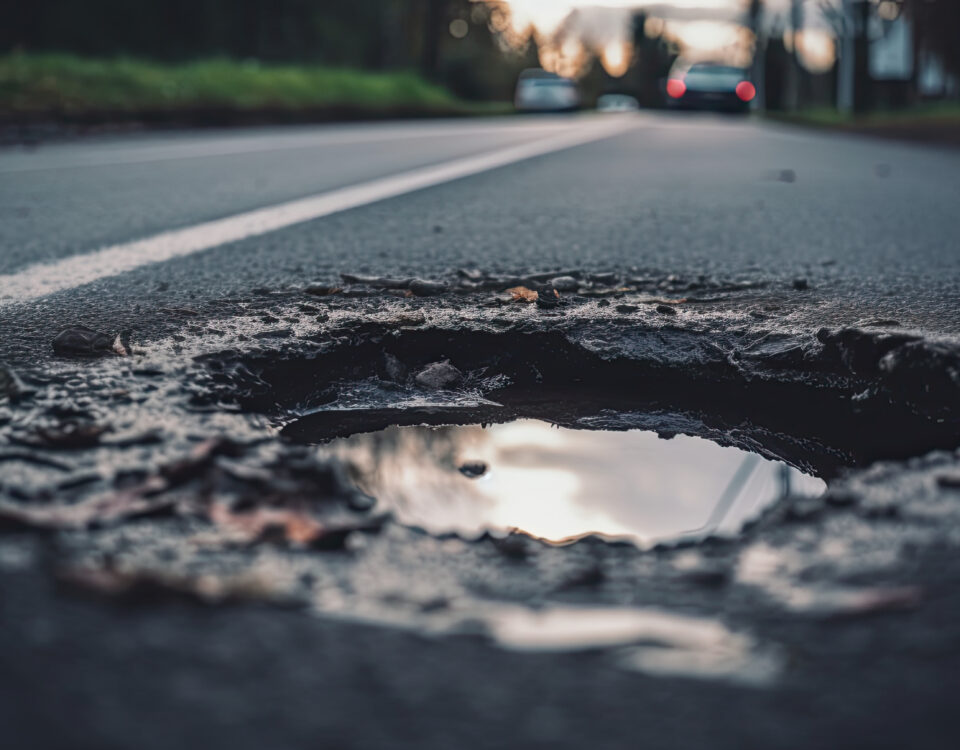
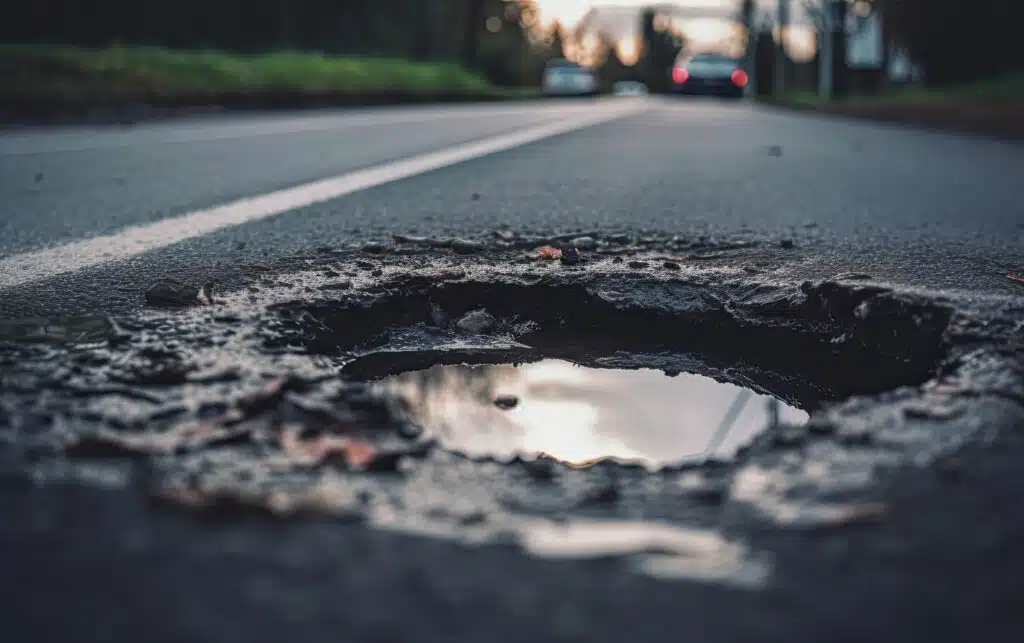
Plastic headlight lenses were developed to replace fragile glass or mica plates that would shatter when hit by a flying bit of road debris. However, these tough covers are still far from invincible. Tiny bits of dust, sand, salt, and pebbles can all scar the surface of the lens. Your car’s headlights will eventually dim at some point due to the frosting effect created by the abrasion of a daily drive. This effect speeds up dramatically in areas with regular dust storms or roads full of fine particulates. Residents of rural roads might find their lights dimming and becoming less effective in just a few years.
Milkiness and changes in the transparency of the material is also possible. Motorweek reports that UV damage from constant exposure to the sun creates cloudy, foggy plastic even when abrasion isn’t an issue. Discoloration and yellow of clear lenses is also a common problem due to sun aging. A simple car cover will obviously prevent the problem, but it won’t reverse existing cloudiness. The same restoration methods can still be used on UV damaged lights because the problem is still on the surface. Damage to the interior side of the cover requires professional treatment.
Toothpaste Isn’t a Fix
Since this problem has been plaguing drivers since glass lenses were largely dropped by foreign and American car makers, there are numerous popular fixes circulating out there. Magazines like Reader’s Digest used to recommend polishing car lights with toothpaste to solve fogging issues, and uncountable websites continue to make these claims as well.
Polishing with toothpaste isn’t a complete waste of time. However, it doesn’t work quite as well as most print and online sources claim. A few minutes of buffing with a white paste only removes the smallest amount of abrasions. There simply isn’t enough polishing power to restore transparency or take out visible scratches reports Facts from Fiction. Stronger solutions are needed for practically any headlight with visible frosting or damage.
DIY Options Can Damage
Every auto parts store stocks at least one kit for DIY headlight polishing. While some drivers that already have body work experience may get good results with this option, it’s not recommended for anyone unfamiliar with the buffing process. Nearly all kits that provide any kind of visible result require you to spend at least 20 to 30 minutes sanding with various grits of sand paper. With just a little bit too much pressure, you could wear a spot into the lens that won’t work out without damage the lens further. It’s all too easy to leave the plastic more frosted than when you started.
For the best results, you will need to mark off the front end and hood of the car to prevent etching or damage of the surrounding material. Applying masking tape and plastic covers can add another half an hour of preparation time to the process. Polishing compounds are provided in the kits, but they can only provide a minor amount of haze removal when applied by hand. You will need a high speed buffing tool and a soft fabric applicator to get the best results explains Edmunds. Most drivers don’t want to invest a few hundred dollars into buffing equipment just to the look of brand new head light lenses once again.
Fixing Scratches and Cracks
Surface buffing also does relatively little to reduce the effect of deep scratches and chips. Each spot of damage fractures the light coming through the plastic, reducing its brightness by the time it reaches the road. Filling these voids in the surface is the best way to restore a strong and steady beam. The gaps require a crystal clear filler that blends seamlessly with the surface. If these fillers are applied properly and buffed away for a smooth look, there is no way to tell where the damage was.
Professional Buffing and Polishing
Professional headlight restoration involves many of the same steps as required by the DIY kit, but the experience and training of the technician is what makes the biggest difference in the results. Experienced repairers can take a power sander to each lens to remove haze in just a few minutes. Buffing also goes just as quickly. If you make a prompt appointment, you may be able to have your headlights looking new in under an hour. The repair team will inspect the fixture to make sure the fogginess isn’t due to condensation inside. This indicates a leak somewhere in the seal, which needs prompt repair to keep the fixture from burning out.
Caring For Your Lenses
Preventing yellowing and cloudiness is tricky, but you can at least slow it down. Expand the amount of time between restorations by following these tips to minimize damage:
- Clean the headlights once a week with a soft rag and plain water to remove dust and road salt.
- Apply a plastic sealant designed for automotive use or a car wax once a month to keep UV and abrasion damage down.
- Avoid using harsh cleaning products on the lenses, which could strip away special protective coatings. Cover the lenses if you need to use a stripping agent on the rest of the car.
When other parts of your car require maintenance, stop on in to Scott’s Fort Collins Auto & Repair. You can also schedule an appointment with us online or call ahead at (970) 682-4202.
